
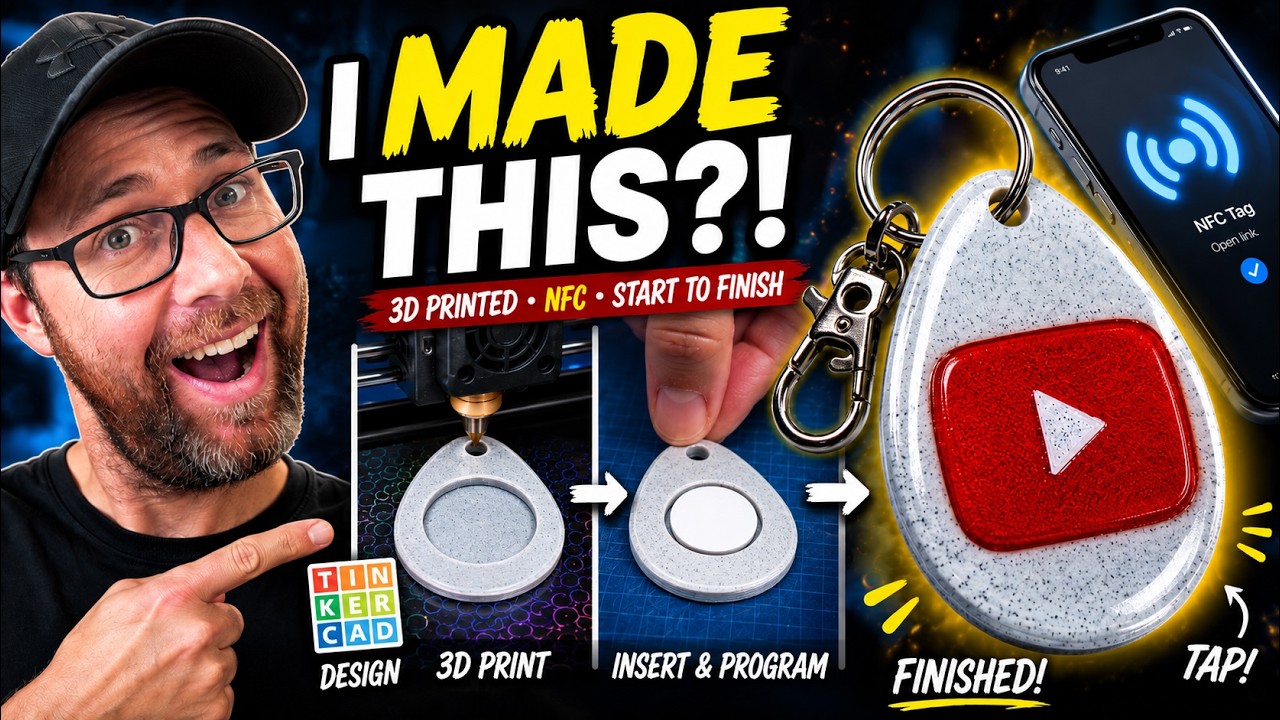
A custom NFC keychain can take someone to your website, social profile, or payment page with a tap of a compatible phone. In this project, I design the keychain in Tinkercad, embed an NFC tag during printing, add a glossy UV resin finish, and program it with NFC Tools.
The design combines a printed body, a hidden tag, and a raised logo. You can customize the artwork and destination link to make your own version.
This article contains affiliate links. I may earn a commission if you purchase through these links. As an Amazon Associate, I earn from qualifying purchases.
What You Need for a Custom NFC Keychain
- A writable NFC tag and a compatible NFC-enabled phone
- Tinkercad, a 3D printer, and a slicer that supports print pauses
- Filament for the keychain body and logo
- An SVG of the artwork you want to add
- Digital calipers to measure the tag
- Keychain hardware
- Optional finish: UV resin, a compatible curing light or UV resin kit, and silicone brushes
The resin is a finishing step, so you can start by getting the printed keychain and NFC function working before adding the glossy coating.
Step 1: Measure Your NFC Tag
Measure the tag’s diameter and thickness with calipers. My round tag measured about 25 mm across and 0.9 mm thick.
For the demonstration, I rounded the thickness allowance up to 1 mm and added 2 mm to the measured diameter when creating the cavity. That gave me a 27 mm diameter, 1 mm tall void.
These are the dimensions used for my tag. Measure yours rather than assuming every NFC tag is the same size.
Step 2: Create the Body and Internal Cavity in Tinkercad
Start a new 3D design. Add a cylinder, change it to a hole, and set its dimensions for your tag cavity. In my example, that was 27 mm across and 1 mm tall.
Next, create the outside shape. I used Tinkercad’s sketch tool to draw a diamond-like outline with extra space at the top for the keyring hole, then rounded its corners.
I set the body thickness to 4 mm. Center the tag cavity within the body, including its vertical position, so there is solid material below and above the tag. Select the body and hole, then group them to subtract the cavity.
This creates an enclosed pocket in the finished model. You will insert the tag while the print is paused, before the printer covers that pocket.
Step 3: Add the Keyring Hole
Add another cylinder hole near the top of the body. I used a 4 mm diameter hole for the keychain attachment.
Make this hole extend through the body and group it with the keychain shape. Check that enough printed material remains around the opening to hold the hardware.
Step 4: Add Your Logo or Artwork
Import an SVG into Tinkercad and resize it to fit the front of your keychain. I held Shift while resizing to keep the artwork proportional.
For my example, I set the logo thickness to 1 mm and placed its bottom at the top of the 4 mm body. This produced a raised design.
You can choose colors in Tinkercad for a helpful preview, but the STL export does not preserve those color assignments. Set up the actual printing colors in your slicer.
Export the finished model as an STL, then open it in your slicer.
Step 5: Set Up the Body and Logo Colors
I used white for the main body and red for the logo. In the slicer’s color-painting tool, I used a height-range selection to assign the raised area its second color.
If your design separates the colors by height, as this one does, you can also use a supported pause or filament-change command to swap filament at that height. That lets you create a layered two-color design without a multicolor feeder.
The color-change pause and the pause for inserting the NFC tag have different purposes. Check both positions if you are using manual filament changes.
Step 6: Pause the Print Before the Tag Cavity Closes
Slice the model and examine its layers. Move through the preview until you can see the open tag cavity, then identify the point immediately before the printer covers it.
Add a print pause there using your slicer’s supported method, then slice again. Confirm that the pause command is supported by your printer and leaves the pocket accessible.
When the printer pauses, place the tag flat inside the pocket. It must sit below the nozzle’s next path so printing can resume without catching it. In the video, I mention using a little glue to keep the tag in place.
Resume the print so the remaining layers enclose the tag. Avoid moving the printed part while inserting it.
My sliced example used roughly 6.5 g of filament, with a filament-cost estimate around $0.10. That estimate excludes the tag, keychain hardware, resin, and other production costs.
Step 7: Add a Glossy UV Resin Finish
After printing, apply a small amount of UV resin to the top surface. I used a silicone brush to guide it across the face and toward the edges, filling the small surface gaps.
Keep the keyring opening clear and check for bubbles before curing. The aim is an even coating that gives the printed face a smooth, shiny finish.
Follow your resin’s handling instructions: use suitable protective gloves and ventilation, avoid skin contact with uncured resin, and follow the curing light’s precautions.
I used a 60-second lamp cycle in the demonstration. That is specific to the resin, coating, and light shown; follow your product’s curing instructions rather than treating one minute as a universal time. The manufacturer’s UV resin guide explains why adequate UV exposure matters.
Once the finish has cured as directed, attach your keychain hardware.
Step 8: Program the NFC Keychain With NFC Tools
I used NFC Tools to write a website address to the embedded tag. The app’s developer provides versions for Android and iOS and documents this URL-writing workflow.
- Open NFC Tools and choose Write.
- Select Add a record.
- Choose the URL / URI record type.
- Enter the complete destination address, such as https://www.youtube.com/@FixThisPrintThat, and confirm it.
- Choose Write and hold the keychain near your phone’s NFC reading area until writing finishes.
- Test the keychain by scanning it again and opening the notification.
In my example, the tag opened the channel page after I tapped the phone’s notification. Your phone’s NFC position and prompts may differ, so use the app’s instructions if you have trouble finding the tag.
Ideas for Your Custom NFC Keychain
A URL record gives you a simple starting point. You could link your keychain to a business website, social profile, portfolio, or payment page.
For a payment link, tapping the tag opens the destination page; the person still completes the payment there. Test the exact link before giving or selling the keychain.
You can change the logo, body shape, and filament colors to suit the destination. For more personalized printed projects, see my guide to custom 3D printed name signs.
If you want to browse filament colors, the video description includes my SUNLU filament link. It lists the code FixThisPrintThat and says it applies automatically through the link on the SUNLU site; check the offer at checkout.
Frequently Asked Questions
Do I need a multicolor printer?
A layered design can use a manual filament change at the appropriate height if your printer supports it. I demonstrated painting the raised logo a second color in the slicer.
When do I insert the NFC tag?
Pause while the internal pocket is still open, immediately before the layer that covers it. Use the sliced preview to locate that point for your model.
Are the 27 mm cavity dimensions right for every tag?
No. They are the dimensions used with my approximately 25 mm tag. Measure your own tag and check the fit.
Do I have to add resin?
The resin provides the glossy finish shown in the video. It is separate from designing, printing, and programming the NFC keychain.
Can the keychain open any app or action?
The workflow demonstrated here writes a URL. Other record types and actions depend on the phone, app, and destination, so test the behavior you want rather than assuming every action works on every device.
Once the print, finish, and link are tested, you have a personalized NFC keychain ready to use. Watch the video for the modeling and layer-preview details, then follow this guide as you build your own.