Learning how to use calipers for 3D printing starts with one simple habit: close the jaws and zero the display before measuring. From there, the large jaws measure outside dimensions and the small jaws measure inside openings. Those measurements help you check printed parts and design replacements that fit.
I keep digital calipers handy for projects such as phone stands, inserts, and custom holders. Instead of guessing a dimension and spending hours on a print, I can measure the part I already have and use that information in my CAD design.
This article contains affiliate links. I may earn a commission if you purchase through these links. As an Amazon Associate, I earn from qualifying purchases.
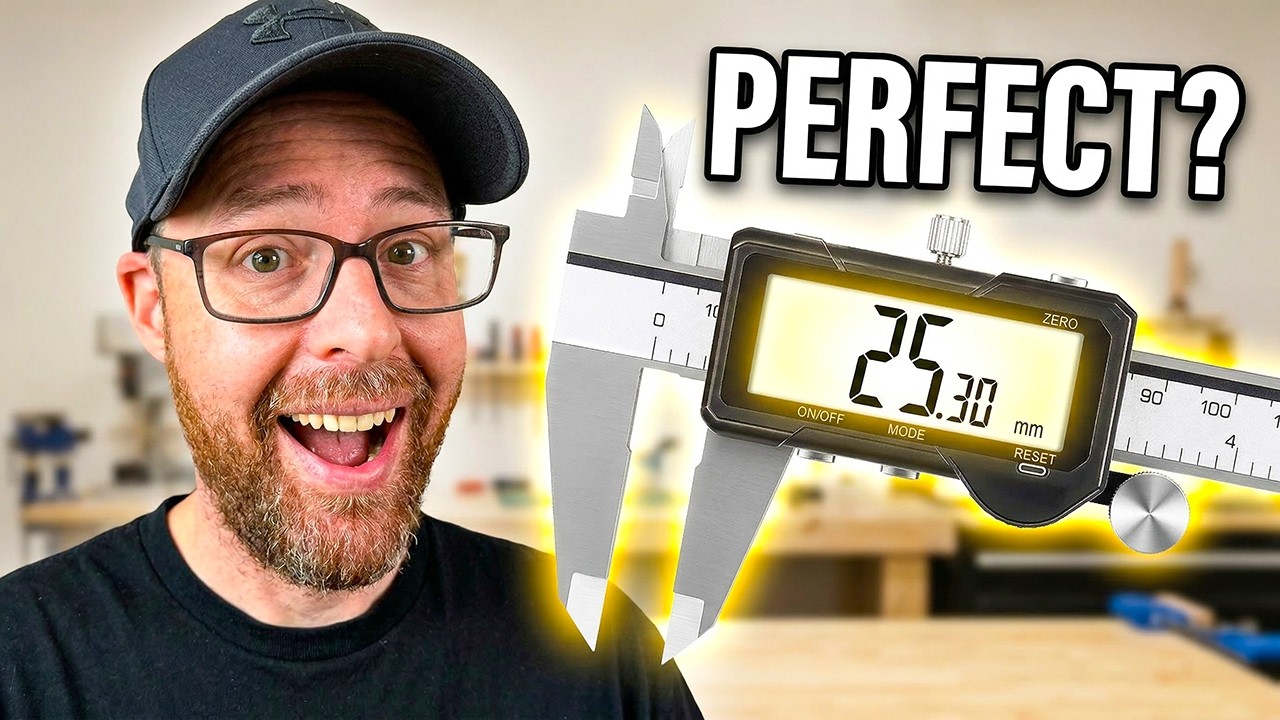
The digital calipers I use
I use HARDELL digital calipers. I like the rechargeable battery, solid feel, and storage case. I also have a cheaper pair that uses small replaceable batteries, but I prefer being able to recharge this one.
You mainly need to recognize three controls: the sliding jaws, the zero button, and the unit selector. The thumbwheel lets you move the jaws gradually while positioning them around a part.
How to use calipers for 3D printing, step by step
1. Close the jaws and zero the display
Bring the measuring jaws together, then press the zero button. The display should read zero with the jaws closed. If you accidentally press zero while the jaws are open, closing them can produce a negative reading. Close them and zero the tool again before continuing.
Select millimeters when working with a model dimension given in millimeters. My calipers can switch between inches and millimeters, so I check the unit indicator rather than relying on the number alone.
2. How to use calipers for 3D printing: outside dimensions
Open the large jaws, place the part between them, and bring them into contact with the two surfaces you want to measure. Read the digital display. You can use this to check a printed cube, measure the width of a stand, or copy the size of an existing part.
For example, I measured one span of my phone stand at 70.45 mm and another across its top at 69.68 mm. If I want a different stand design with similar dimensions, those readings give me a starting point instead of a guess.
3. Measure inside openings with the small jaws
The next part of learning how to use calipers for 3D printing is measuring inside openings. Use the smaller jaws on the opposite side of the tool. Place them inside the opening and spread them until they touch the opposing inside surfaces. Read the display to find the opening’s size.
The inside opening on my phone stand measured 51.82 mm. This kind of measurement is useful when designing an insert or working out the space available inside a holder.
4. Compare the measurement with your model
If you print a cube designed to be 20 mm wide, measure it and compare the reading with that intended dimension. Record both numbers. For a custom design, note which surface or opening each reading belongs to before entering it into your CAD software.
Knowing how to use calipers for 3D printing helps you separate a size problem from a clearance problem. Dimensions and fit work together. If your parts measure close to the intended size but still bind, my guide to fixing tight 3D prints with a tolerance test walks through checking clearances and comparing small X-Y contour adjustments.
How to use calipers for 3D printing: filament checks
You can also use the large jaws to check filament diameter. I measured a piece of nominal 1.75 mm filament at 1.77 mm. Compare your reading with the diameter and tolerance listed by your filament manufacturer; the nominal diameter is not a promise that every reading will be exactly 1.75 mm.
If you are shopping for filament, here is my SUNLU filament link. Keep the spool’s specifications available when checking a measurement.
Common mistakes to avoid
- Zeroing with the jaws open: close the jaws before setting zero for these measurements.
- Reading the wrong units: check whether the display shows inches or millimeters.
- Using the wrong jaws: large jaws measure outside surfaces; small jaws measure inside openings.
- Forgetting what you measured: label your notes so you can distinguish overall width from an internal opening.
- Assuming one measurement guarantees a fit: check the relevant dimensions and test the assembled parts.
Frequently asked questions
Why do my calipers show a negative number?
You may have set zero while the jaws were open. Close the jaws and press zero again, then repeat the measurement.
Can I use calipers to design replacement parts?
Yes. Measure the relevant outside dimensions and inside openings, record them, and use those measurements in your CAD design. Check the fit of the printed replacement before relying on the finished design.
Do I need rechargeable calipers?
Rechargeable calipers are my preference, but a pair with replaceable batteries can also take these measurements. Choose a tool you find easy to read and keep powered.
For more practical measuring tips, builds, and beginner tutorials, Subscribe to Fix This. Print That. on YouTube.