
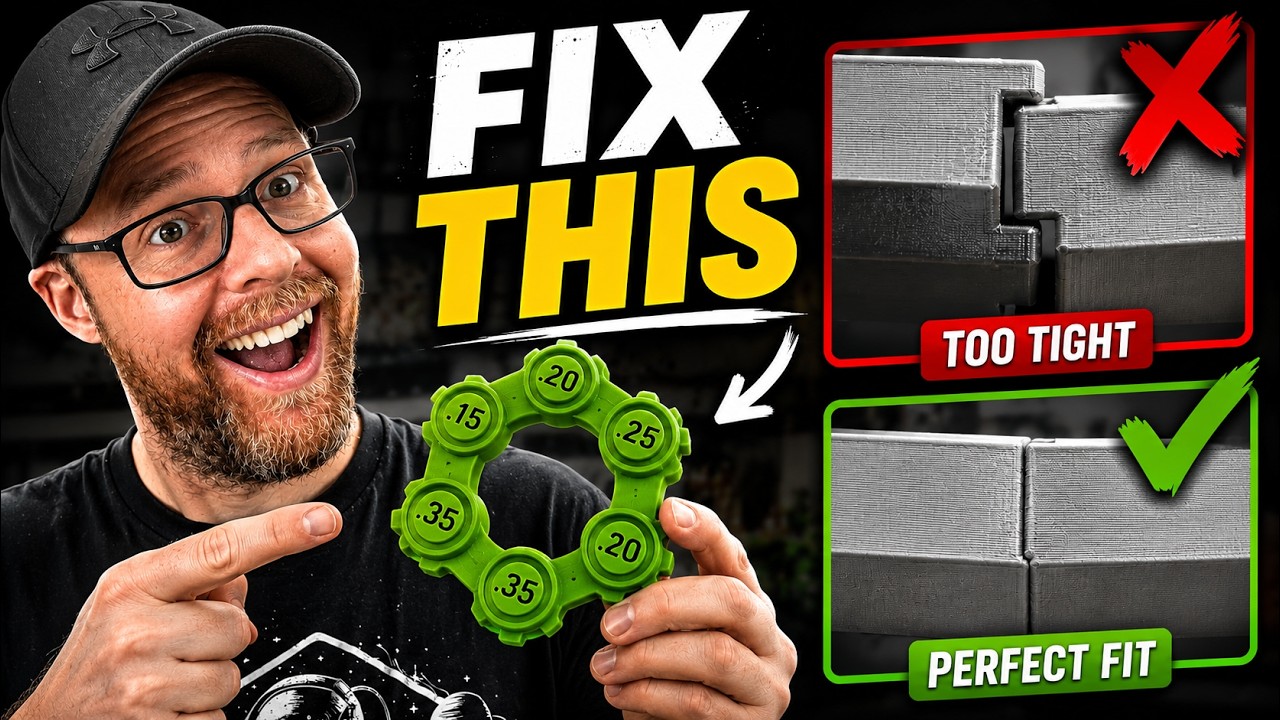
To fix tight 3D prints, start with a small clearance test, make a minor X-Y contour adjustment, and compare the fit. Stiff print-in-place joints and parts that refuse to fit together are frustrating, especially after a long print. I use a small clearance test to check the fit before committing to a larger project.
On my Creality Hi with SUNLU PLA, changing X-Y Contour Compensation to −0.02 mm improved the movement of the test parts. Here is how to run the same comparison and find an adjustment for your own setup.
This article contains affiliate links. I may earn a commission if you purchase through these links. As an Amazon Associate, I earn from qualifying purchases.
Why are your 3D printed parts too tight?
Moving joints and fitted parts need clearance: a small gap between surfaces. If the printed surfaces use up that gap, a joint can bind or an assembly can feel too tight. A tolerance test gives you several labeled clearances to compare on one small print.
The goal is a useful fit for your project. An articulated dragon needs joints that move, while an assembly may need a snug fit. Making every gap as loose as possible can create a different problem.
What you need to fix tight 3D prints
- The free clearance tolerance test model on MakerWorld.
- Your printer, slicer, and the filament you plan to use for the finished project.
- A place to record the compensation value and which test sections move freely.
- Optional: digital calipers for checking dimensions on fitted parts.
I ran my comparison on the Creality Hi using SUNLU PLA. You can also shop SUNLU filament directly. Use the same filament for both test prints so the comparison is useful.
1. Print a baseline tolerance test
Import the test model into your slicer, select the correct printer and filament profile, and record your current compensation settings. Print the first copy without changing those values. My first test took about 35 minutes, making it a quick check before a much larger print.
Let the print cool, remove it from the plate, and gently check each moving section. Write down which labeled gaps move freely, which feel rough, and which stay stuck. Avoid forcing a joint until it breaks; you want to compare the fit, not your grip strength.
2. Read the clearance results
On my baseline print, the larger clearances moved more easily. The 0.25 mm section needed some wiggling, and the 0.20 mm section was rough and barely moved. The smaller clearances stayed stuck. That gave me a clear before-and-after comparison for the next print.
For this test, a useful starting target is a 0.20 mm section that moves freely, with some resistance at 0.15 mm. Treat that as a calibration target rather than a guarantee that every model will fit. The finished part still needs a practical fit check.
3. Make a small X-Y contour adjustment
In Creality Print, I changed X-Y Contour Compensation to −0.02 mm, then sliced the same test again. Keep your other settings the same so you can judge what this one change does.
Contour compensation changes the horizontal outline of the printed part. A negative value makes the contour smaller, which can help tight parts gain clearance. Start with a small adjustment and reprint the test before making a larger change.
Check the exact setting: X-Y contour compensation and X-Y hole compensation have different effects. In OrcaSlicer, negative contour values shrink contours, while positive hole values enlarge holes. For a shaft that will not fit into a hole, identify which dimension needs correcting before changing either value. The official OrcaSlicer precision guide explains both controls.
4. Reprint and compare the movement
With −0.02 mm X-Y Contour Compensation, my 0.25 mm section moved freely and the 0.20 mm section also moved freely. The tighter sections improved as well. That small change gave me a noticeably better result without spending hours on a full-size model.
- Compare the same labeled sections on both prints.
- Record the movement and compensation value.
- If the fit is still too tight, make another small adjustment and repeat.
- If the fit becomes too loose, move back toward your original value.
- Save the successful profile with a name that identifies the printer and filament.
5. Check the fit on your actual project
Once the test moves the way you want, try the profile on your articulated print or fitted assembly. Check both movement and dimensions. For a functional part, calipers can help you confirm that improved clearance has not made the outside dimensions too small.
Keep the baseline settings available. A compensation value that works for one printer and filament combination is a starting point when you change materials, rather than a setting to apply to every future print.
Common tolerance-testing mistakes
- Changing several settings at once: make one change between tests so the result is easy to interpret.
- Using a large adjustment immediately: small changes can improve movement without making the part unnecessarily loose.
- Confusing contour and hole compensation: confirm which surface the setting changes.
- Skipping the final fit check: a calibration model is useful, but your actual assembly decides whether the result works.
Frequently asked questions
Will −0.02 mm fix every tight 3D print?
No. It worked well in my Creality Hi and SUNLU PLA comparison. Print a baseline test and compare a small adjustment on your own setup before saving the value.
Should I aim for every section to move freely?
Choose a fit that suits your project. For this test, I use free movement at 0.20 mm and some resistance at 0.15 mm as a practical starting target. Excess clearance can make fitted parts loose.
How long does a tolerance test take?
My baseline print took about 35 minutes. Check your slicer’s estimate for your printer and profile, and allow time for a second print to compare the adjustment.
Try your calibrated profile on a moving project
Once you have a fit you like, put the profile to use on a small moving project. My guide to making custom 3D printed clickers walks through another practical build where moving parts need to work together.
Want more practical 3D printing tips and projects? Subscribe to Fix This. Print That. on YouTube for more builds, tutorials, and troubleshooting.