Materials & Filament Used
Amazon Links:
- Silicone Brush Set – https://amzlink.to/az0l3fwN4bYMC
- UV Resin Set – https://amzlink.to/az0crNuns2ViU
Project Overview
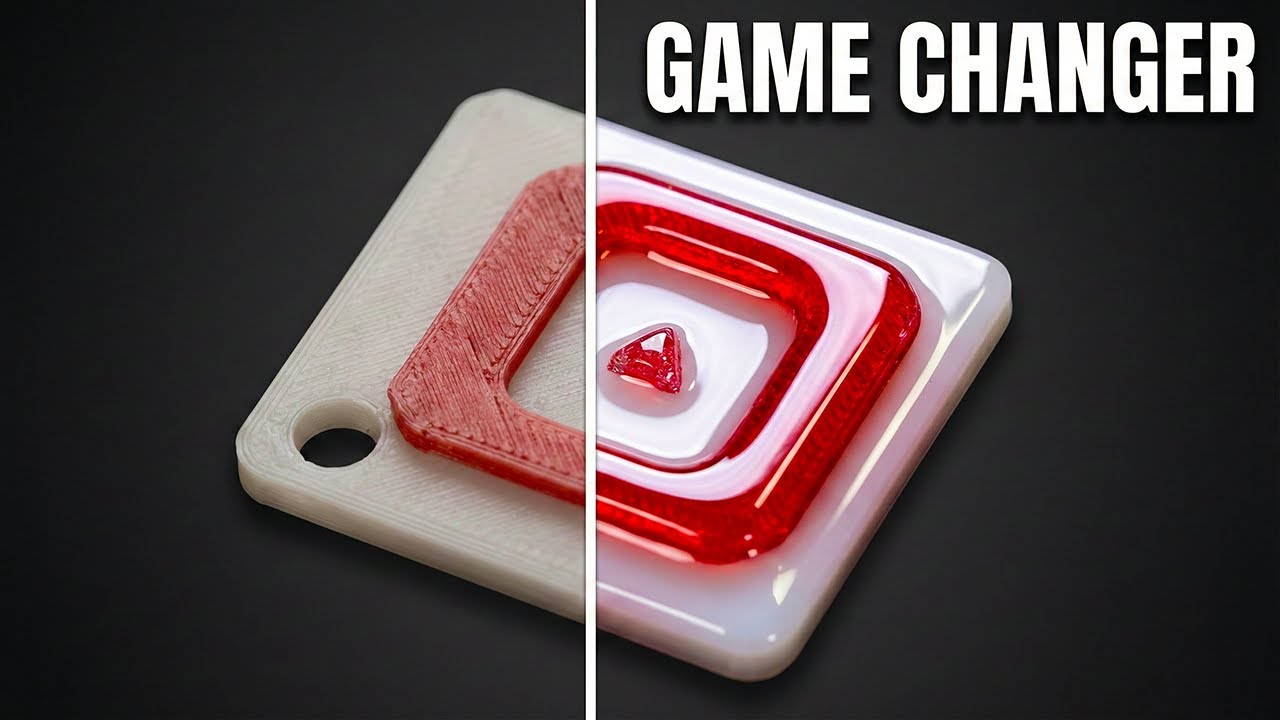
Are you tired of seeing those unsightly layer lines on your 3D prints? If you want to take your FDM prints to the next level and achieve a professional, glass-like finish, UV resin is the secret weapon you’ve been looking for.
In this guide, I’ll walk you through a simple technique to smooth PLA surfaces using clear UV resin. This method not only hides grid lines but also gives your projects a stunning, glossy shine.
What You’ll Need
Before we get started, safety is key! Working with resin requires a few specific tools to keep things clean and safe.
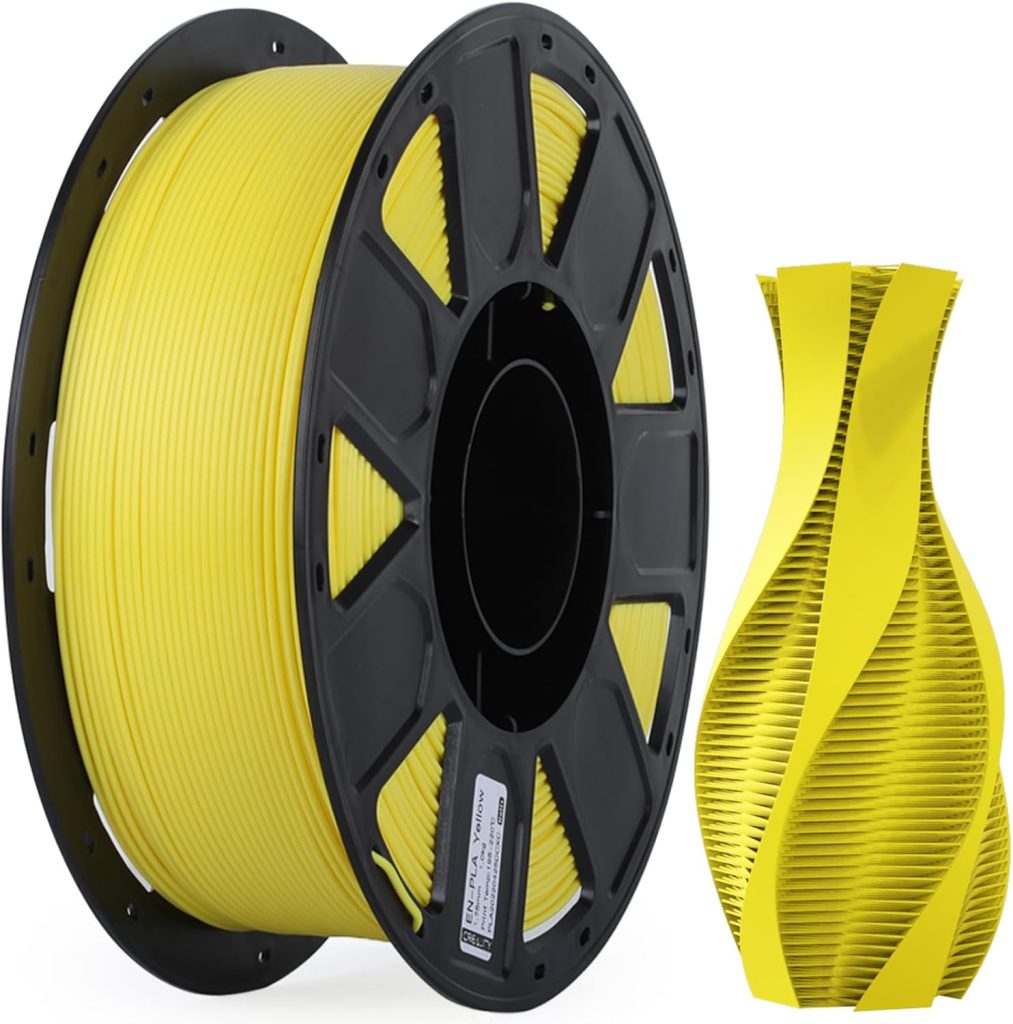
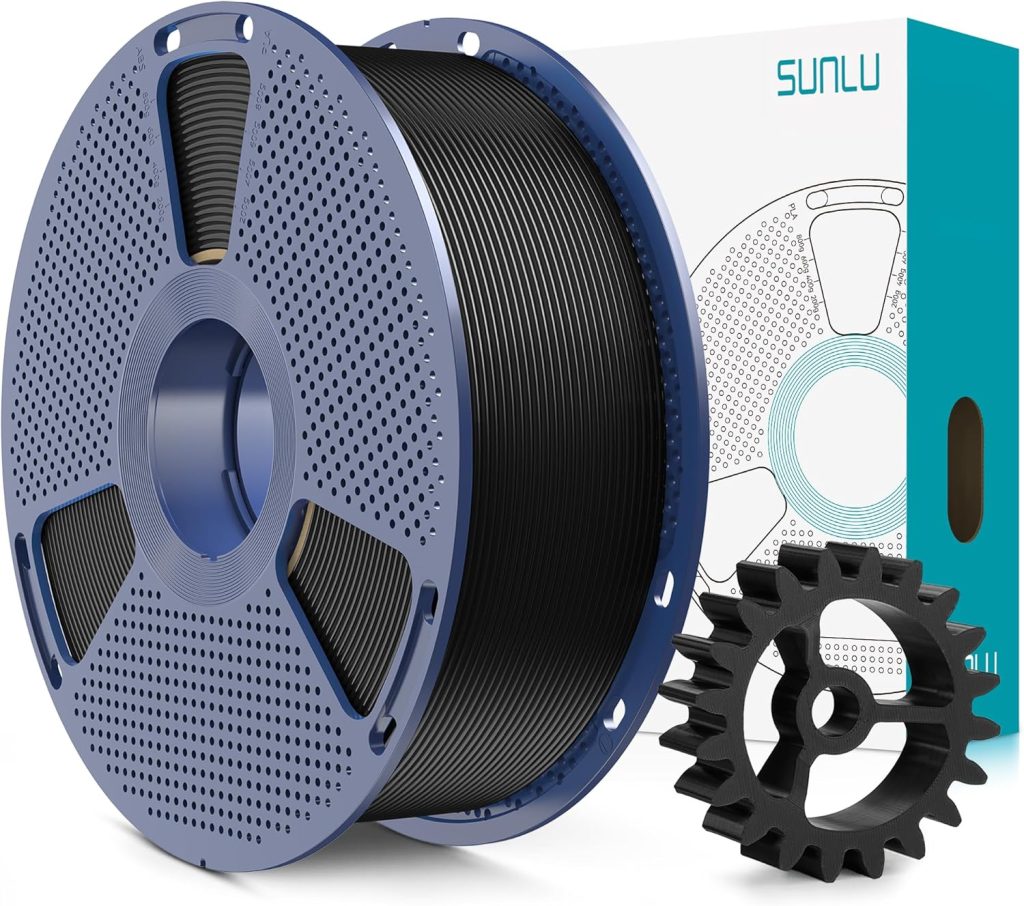
- A finished PLA 3D Print: Ideally something with a flat surface you want to smooth.
- Clear UV Resin: Any standard clear UV resin works well.
- UV Nail Lamp: Essential for curing the resin quickly.
- Silicone Brushes: These are much better than bristle brushes as they don’t shed and are easy to clean.
- Safety Gear: Nitrile gloves (resin is sticky and can be an irritant).
- Workspace Protection: A silicone mat to catch drips and paper towels for cleanup.
- Toothpicks: For popping stubborn bubbles.
- Optional: A small torch (use with extreme caution!).
Safety Note: Always work in a well-ventilated area (open a window!) and keep your workspace away from direct sunlight, or your resin will cure before you’re ready!
Step 1: Prepare Your Workspace and Print
First, put on your gloves. UV resin is incredibly sticky and you don’t want it on your skin. Place your 3D print on a silicone mat. Ensure your print is clean and free of dust.
Step 2: Apply the Resin
The trick to a perfect finish is working in sections. Do not try to coat the entire model at once.
- Pour a small amount of UV resin directly onto a specific section of your print (e.g., the top surface).
- Use your silicone brush to gently spread the resin. You want a thin, even coat.
- Push the resin right to the edges, but be careful not to let it run over the side. Surface tension usually helps keep it in place, but take your time.
Step 3: Remove Bubbles
Bubbles are the enemy of a glass-like finish.
- The Toothpick Method: Use a toothpick to manually pop larger bubbles or drag them to the edge.
- The Torch Method (Optional): You can do a very quick pass with a small torch to pop micro-bubbles. Warning: Do not hold the flame over the print! PLA has a low melting point and you will warp your print if you aren’t careful. A quick half-second pass is all you need.
Step 4: Cure Under UV Light
Once you are happy with the coat and the bubbles are gone:
- Place the print under your UV nail lamp.
- Let it cure for about 1 minute.
- Important: Let the print cool down for a moment after curing. The chemical reaction generates heat, and touching it too soon can leave fingerprints on your perfect surface.
Step 5: Repeat for Other Sections
Once the first section is cured and cool, move on to the next area (like the inner borders or sides).
- Wipe your silicone brush with a paper towel between applications to keep it clean.
- Apply, spread, de-bubble, and cure just like before.
The Result
After coating and curing all sections, your print lines should be completely invisible. You are left with a smooth, durable, clear finish that looks just like glass!
Project Files
- How to make NFC Keychains Video: https://youtu.be/GF3C_ELOgEQ