
Project Overview
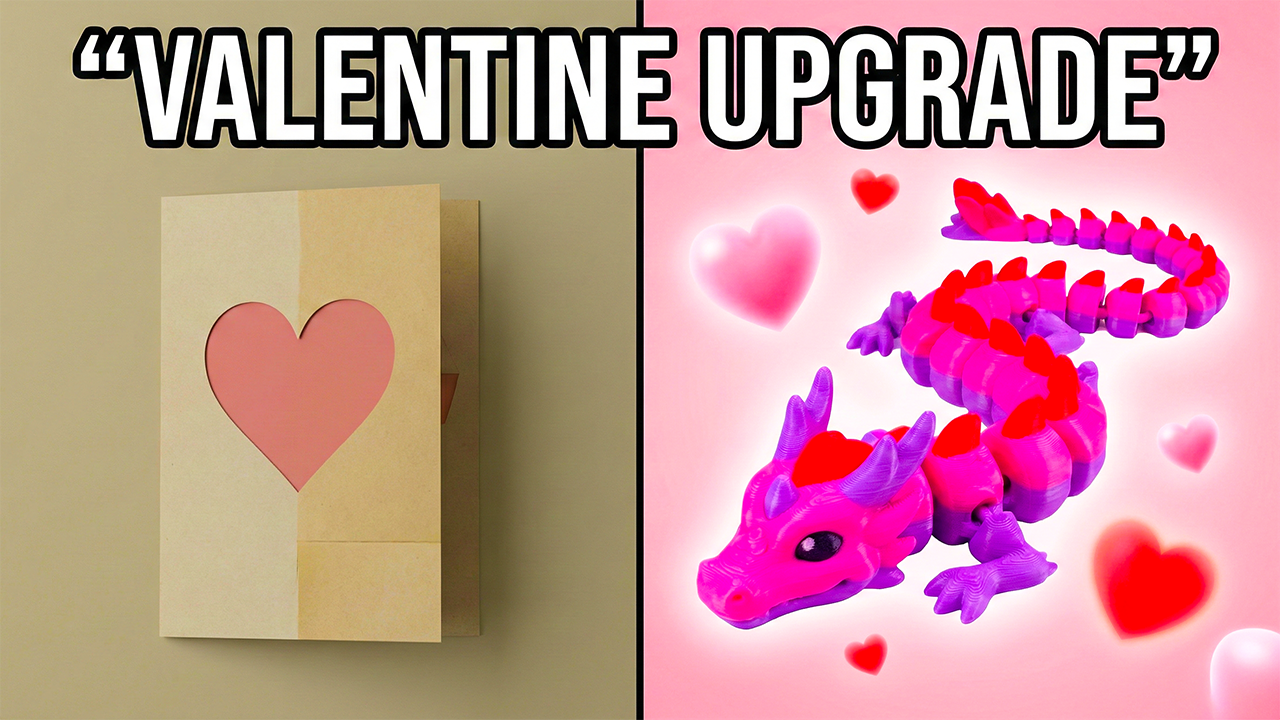
Let’s be real—Valentine’s Day is coming up fast. If you’re a parent, you know the drill: you need something for your kid to give to their entire class. You could go buy a bag of candy or cheap cards, but we have 3D printers. We can do better.
I wanted something interactive. I didn’t want to just hand a kid a finished toy and say, “Here, have a Benchy.” I wanted them to build something.
Kids love dragons. I know, as makers, we see 3D printed dragons everywhere and maybe roll our eyes a little. But trust me, to a classroom full of kids, they are still the coolest thing ever.
So, here is the plan: A DIY “Build Your Own Dragon” Kit.
Instead of printing a finished dragon, we print the parts, bag them up, and let the kids glue it together themselves. It’s fun, it’s a STEM activity, and frankly, it’s easier than printing 25 articulated dragons that might fail halfway through.
The Model: Finding the Right Print
I hopped on MakerWorld to find something suitable. I needed a specific criteria:
- No AMS required: I don’t want to waste time or filament on poop chutes for 25 cheap gifts.
- Print-in-place parts: It needs to be simple to separate.
- Cute factor: It has to actually look like a Valentine’s gift.
I found a “Valentine Dragon” that prints in separate parts—body, hearts, and eyes. This is perfect because you can print the body in one color (like white) and the accessories in another (red or pink) without needing a multicolor printer. You just swap filaments between plates.
The Slicing Strategy
Time is money, or in this case, time is sanity. I needed to print enough for a whole class (about 23 kids).
Here is the breakdown:
- The Dragon Body: I separated the main body onto one plate.
- The Accessories: I moved the hearts and eyes to a separate plate. These take like 5 minutes to print.
- Batch Printing: I set up the build plate to print 16 bodies at once.
- Time Estimate: ~12 hours for 16 dragons.
- Plan: Run two overnight prints, and in two days, the entire class is done.
Assembly and Packaging
Once the printing is done, you have a pile of dragon bodies and a pile of tiny hearts and eyes.
I bought small poly bags (linked below) to package them. The idea is simple:
- Throw one dragon body, four hearts, and two eyes into a bag.
- Add a small instruction sheet (maybe fold it up with the Valentine’s card).
- Seal it up.
When the kid gets home, they get to build their own toy.
The Result
I printed a test batch—one with a white body and red hearts, and one reversed. They look great. It’s a simple, cheap, and interactive gift that blows a paper card out of the water.
This is also a great idea if you sell prints. As long as you have the commercial license, selling “DIY Kits” is a great angle for markets or Etsy because it’s an activity, not just a product.